
Lux Nook guide layout. Open Options → Code editor to edit the complete guide. Use Preview to review the finished page.
Media Wall Lighting
Plan media wall lighting that highlights shelves, finishes, and the room around your television—without glare, visible LED dots, or overlighting.
Light the architecture, not the television.
A refined media wall rarely needs every light at full brightness. The best result uses a few controlled layers: gentle light for display shelves, soft light around the room and—when the design calls for it—a restrained glow behind the screen.
Start with the evening experience. Decide what should remain visible when the TV is on, then give each lighting layer its own dimmable control.
One wall. Three different jobs for light.
These layers can work together, but they should not be forced to turn on together. Independent dimming lets the wall change from daytime display to relaxed evening viewing.
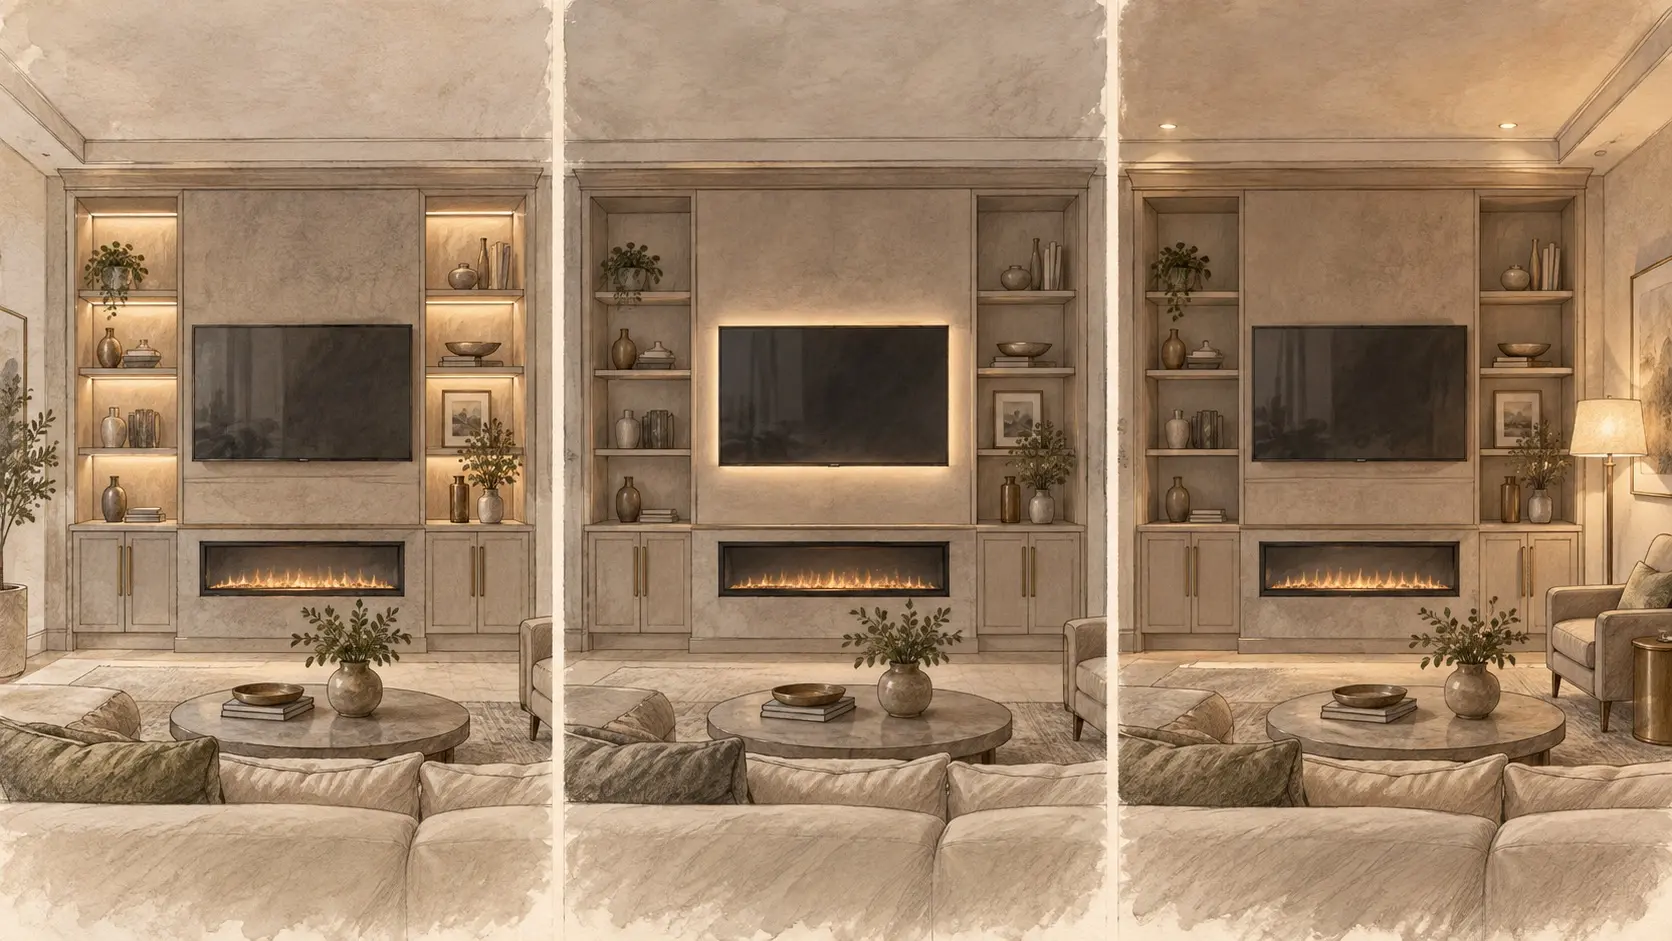
Give shelves a soft, even wash.
Light art and objects without exposing the diode strip or creating a bright circle on a single shelf.
Keep the area around the TV gentle.
A subtle glow can soften the contrast between a bright screen and a dark wall. It should never compete with the picture.
Let the room support the feature wall.
Ceiling, cove and decorative lighting should make the whole seating area feel comfortable—not leave the media wall as the only bright object.
The right lighting depends on the architecture.
Every illustration below is based directly on a different completed Lux Nook project. The room, proportions and built work have not been redesigned.
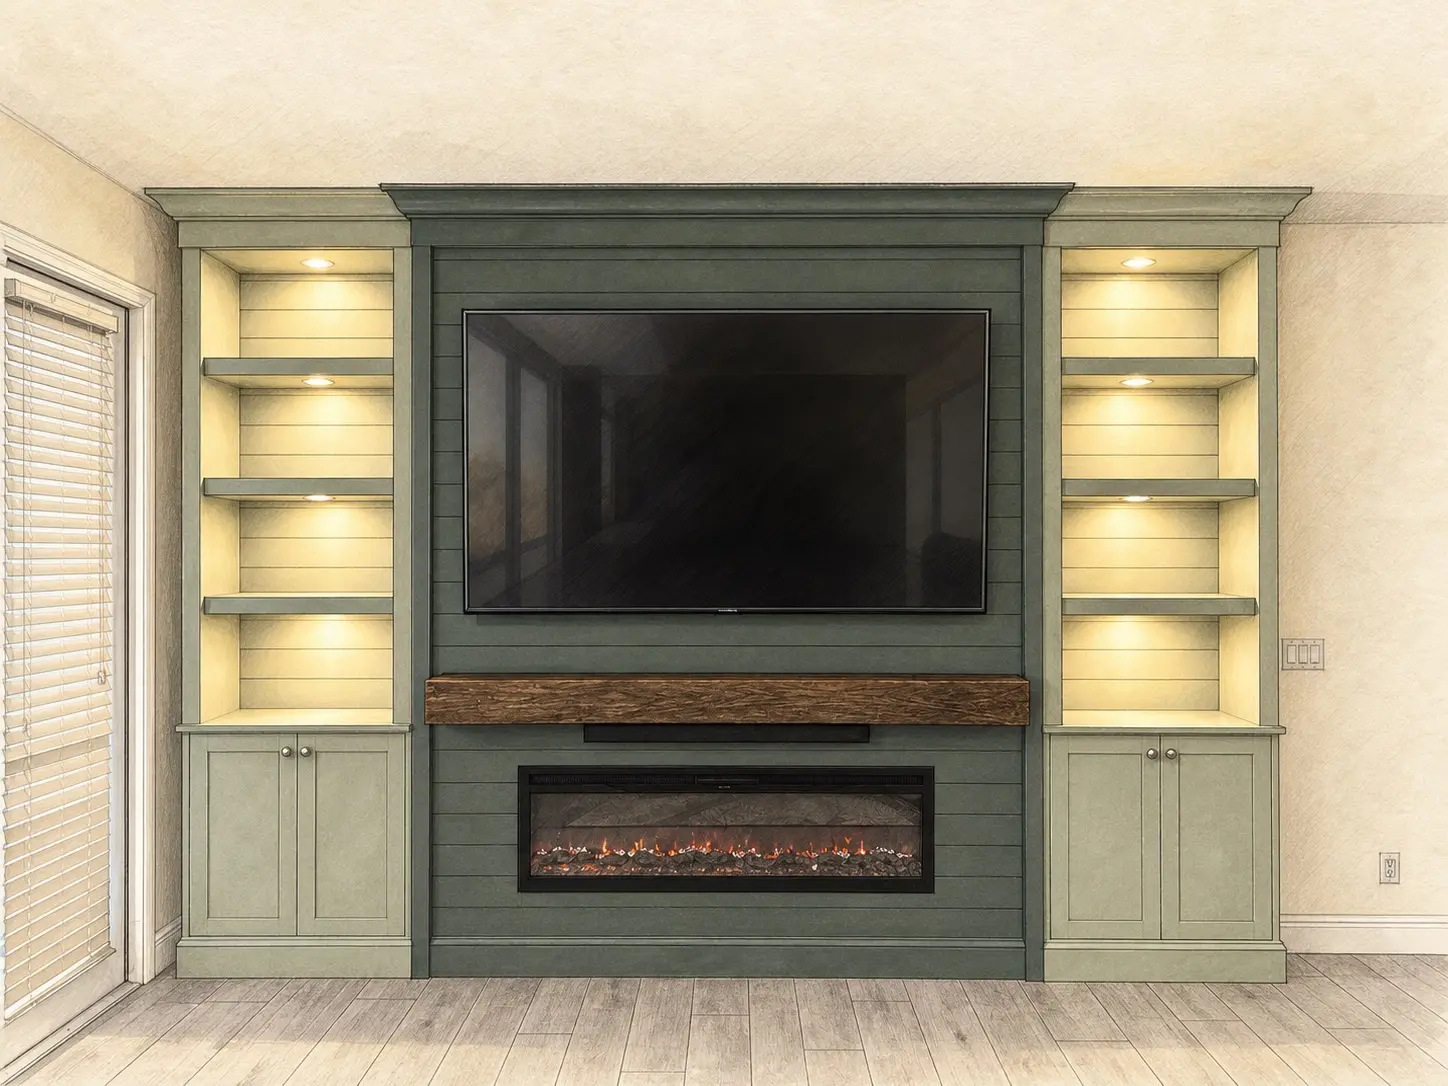
Repeat the glow with rhythm.
Matched shelf lights make the two towers read as one composition. Dimming keeps the repeated points of light elegant at night.
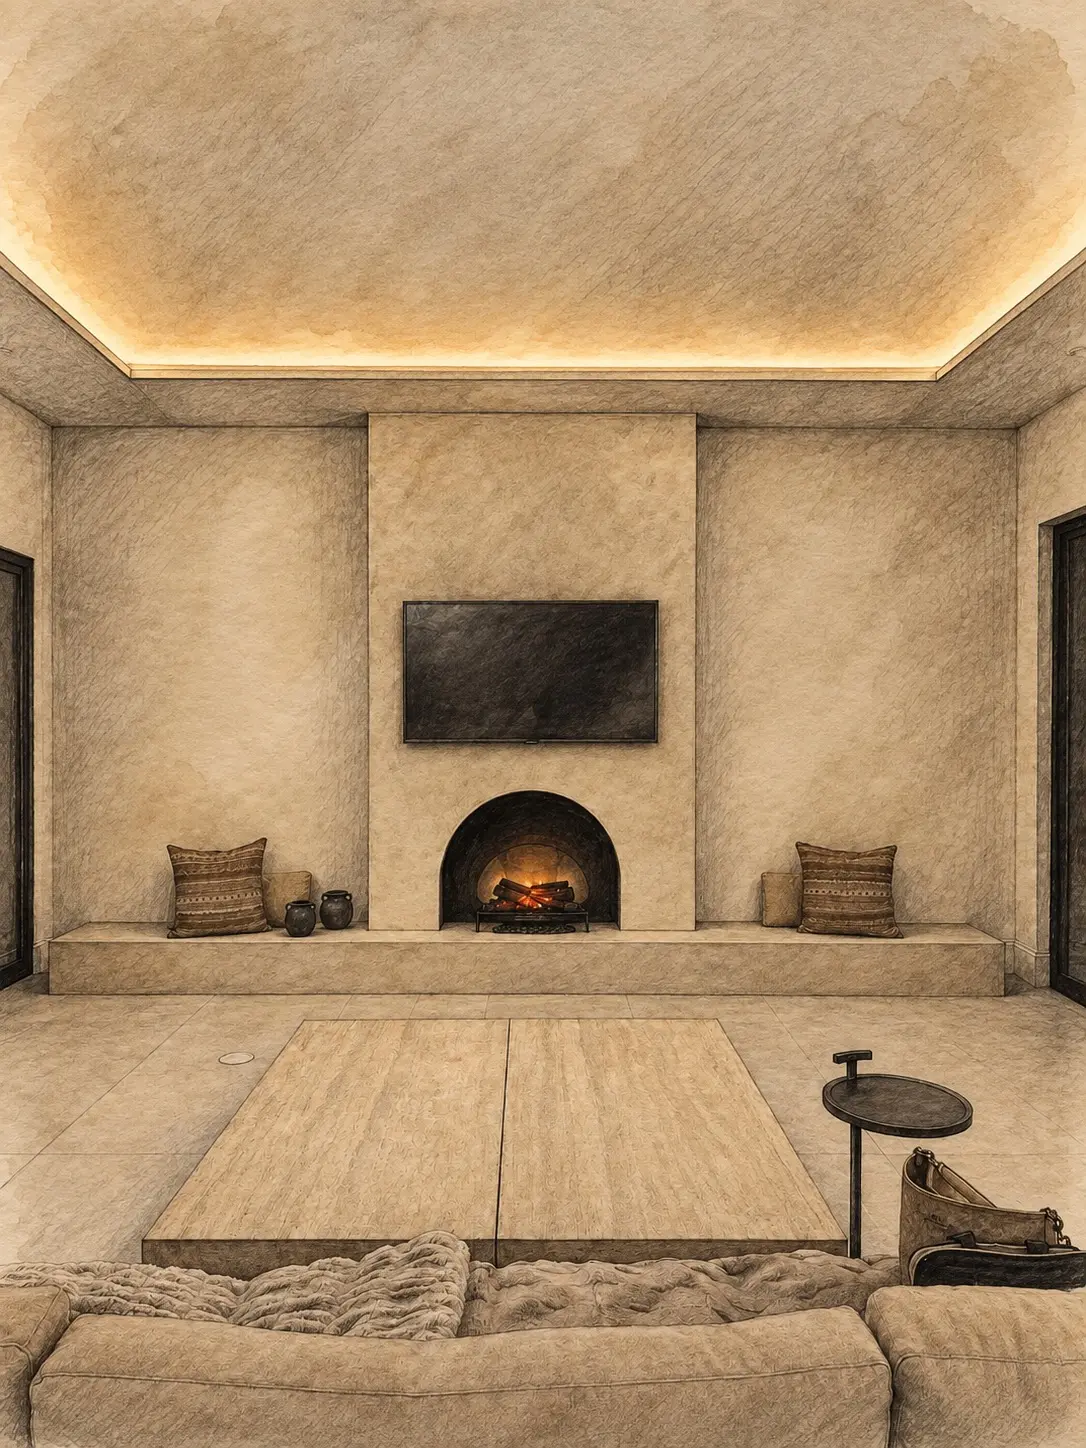
Let the ceiling carry the mood.
A continuous cove glow can shape the entire room while the media wall remains quiet and sculptural.
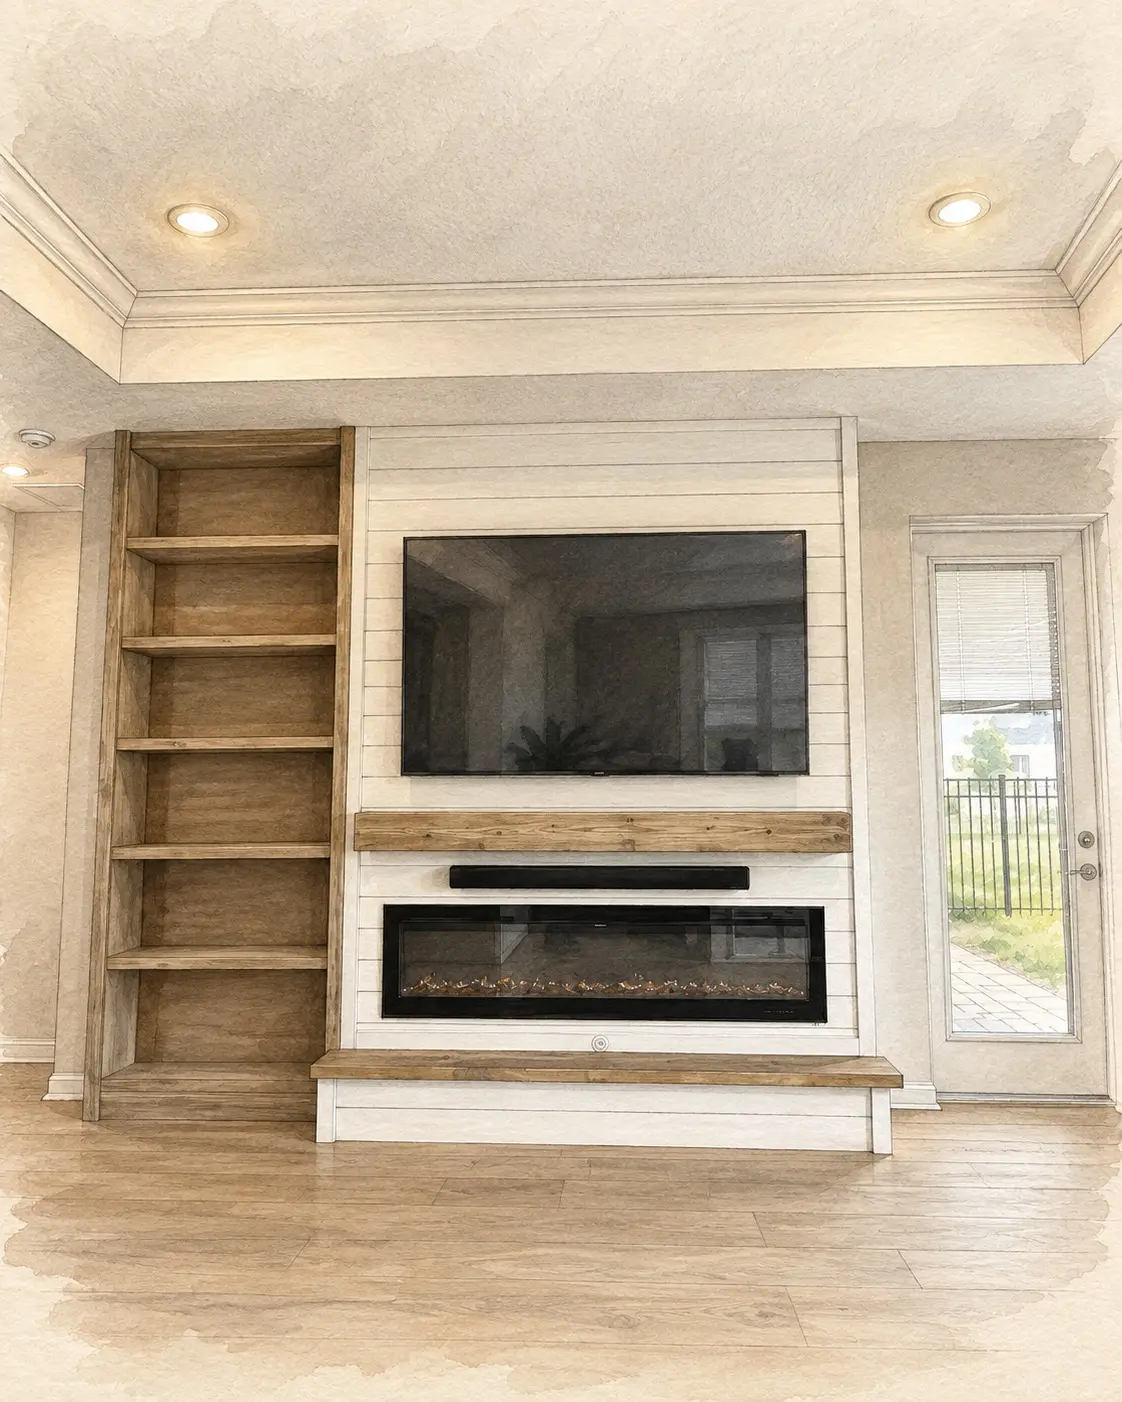
Not every shelf needs a fixture.
Simple recessed room lighting can be enough when the wall already has strong material contrast and a clear focal point.
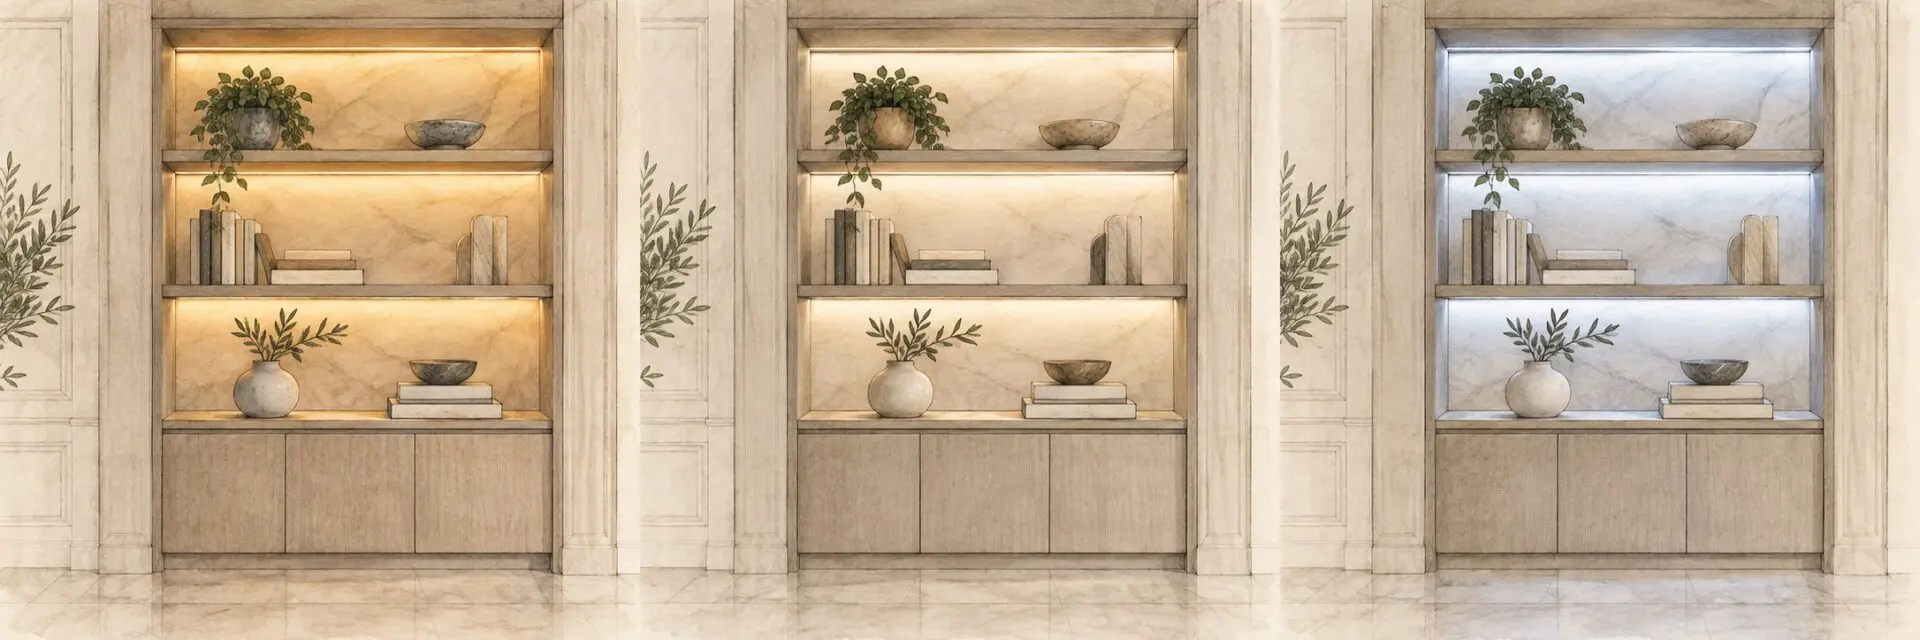
Keep every white in the same family.
For most warm residential media walls, 2700K to 3000K is a useful starting range. Lower Kelvin values read warmer; 4000K and above appear cooler and can make nearby warm lighting feel mismatched.
When light is revealing wood, stone, paint and styled objects, color quality matters too. A source rated 90+ CRI is a strong specification for faithful-looking finishes.
Do not choose by the product photo alone. Review the actual color temperature, CRI, dimming method and diffuser before the wall is finalized.
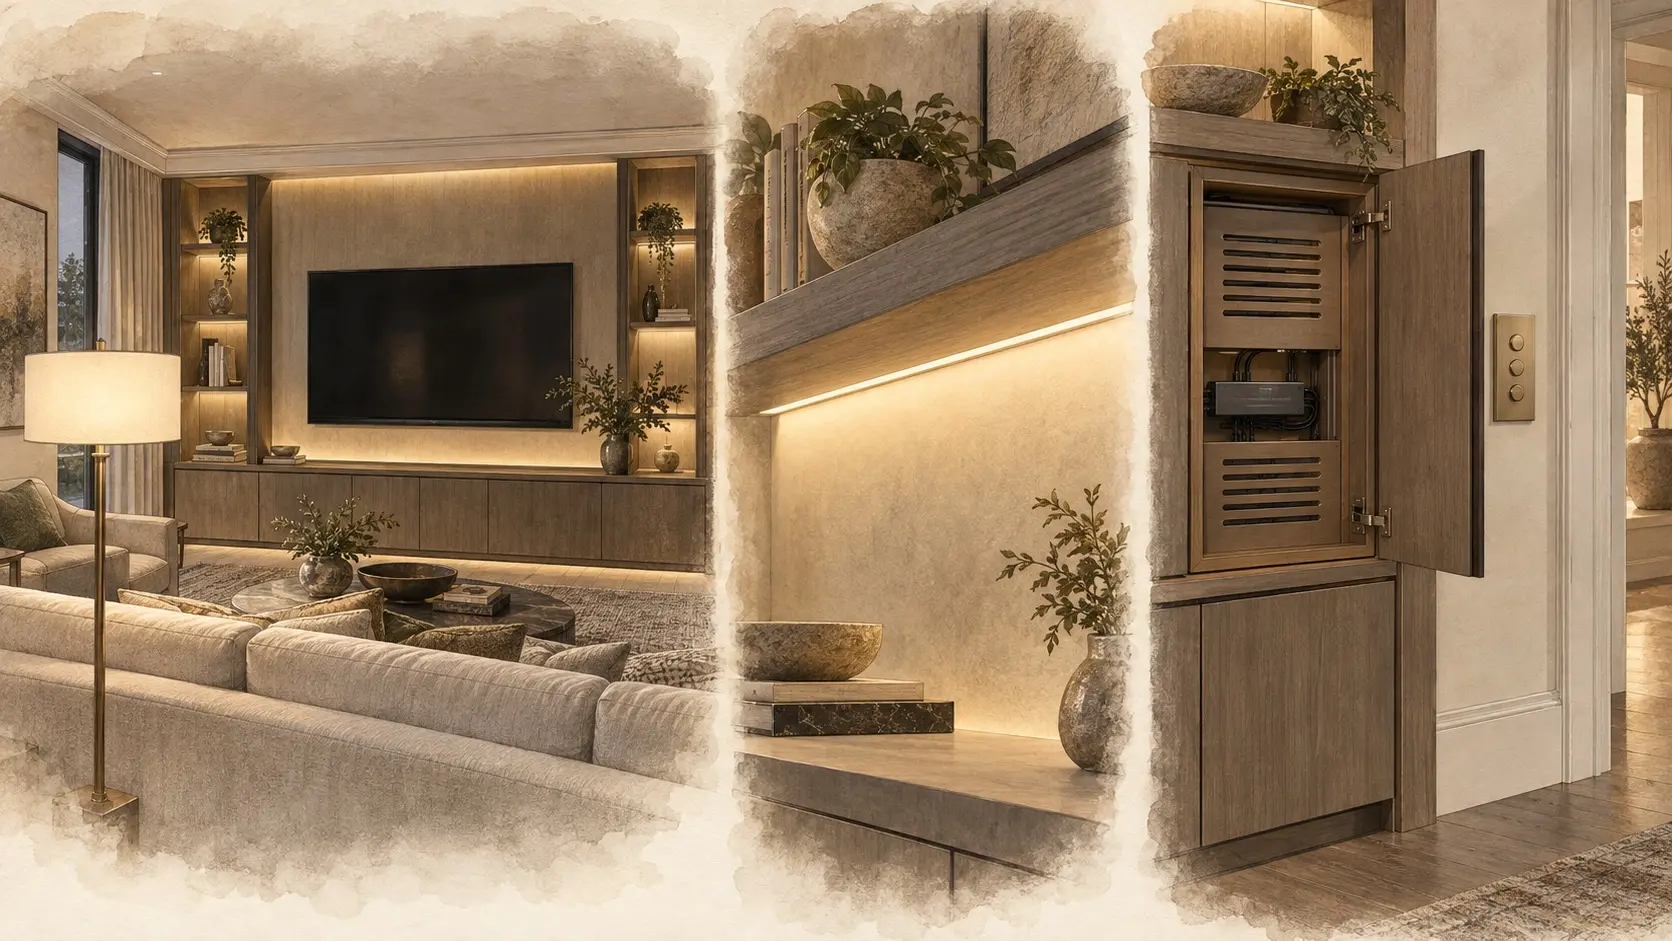
Control what the eye sees.
Check the screen from the sofa
Locate lamps and bright fixtures where they will not reflect in the TV during normal viewing.
Hide the source
A recessed channel and diffuser create a continuous wash. The viewer should see illuminated material—not a row of LED dots.
Keep the glow subordinate
Light behind the TV should stay soft enough that the picture remains the brightest and clearest point.
Beautiful lighting still needs a practical plan.
LED tape, fixtures, drivers and dimmers must be selected as a compatible system. The wall should also provide a deliberate, accessible place to service the driver later.
Exact fixtures and drivers
Depths, wire routes and access locations depend on the actual products—not a generic allowance.
LED + dimmer
Mismatched components can flicker, buzz, pop on abruptly or refuse to dim smoothly.
Bright · Relaxed · TV
Useful presets are easier to live with than a wall of unrelated switches.
Six common lighting mistakes
The LED dots are visible.
The source needs a better recess, channel or diffuser.
One harsh hotspot hits the shelf.
Even illumination is usually calmer than a bright circle.
The whites do not match.
Cool shelf light beside warm room light makes the wall feel disconnected.
A lamp reflects in the TV.
Check real viewing positions before fixing nearby light locations.
Everything turns on together.
Without zones, the wall cannot shift from display mode to TV mode.
The driver is trapped in the wall.
Future service should not require opening a finished surface.
The final homeowner checklist
Review the evening experience, exact products and controls before construction begins.
- Evening viewing mood discussed
- Display zones selected
- TV glare checked from every main seat
- Color temperature selected
- All visible lighting uses a consistent white
- CRI reviewed for featured finishes
- LED source fully concealed
- Diffuser and channel confirmed
- Exact fixture dimensions available
- Dimming range reviewed
- Dimmer and driver compatibility confirmed
- Display lighting on its own zone
- TV surround light on its own zone
- Room lighting on its own zone
- Driver location remains accessible
- Switch or keypad locations approved
Lighting questions to settle early
Does every media wall need integrated lighting?
No. Lighting should support the architecture. A simple wall may be stronger with restrained room light, while display built-ins often benefit from concealed shelf lighting.
What color temperature should I choose?
For many warm residential rooms, 2700K to 3000K is a practical starting point. The final choice should coordinate with the room’s existing lamps, ceiling lights and finishes.
Should the shelves and TV backlight use one switch?
Usually separate controls are more useful. You may want the shelves on for display, a very soft TV surround glow for viewing or neither when the room lighting is enough.
Can the LED driver be hidden permanently?
It can be concealed from view, but it should remain accessible for inspection or replacement. The exact access strategy belongs in the design before finished surfaces close.
Will the electric fireplace affect the lighting plan?
The electric flame effect is already a visual light source. Its brightness and color should be considered with the shelf and room lighting so the wall does not feel busy.
Can lighting be added after the media wall is built?
Sometimes, but the cleanest result comes from planning channels, wiring, drivers, controls and service access before the cabinetry and finished wall surfaces are completed.
Plan the lighting with the wall—not after it.
Share room photographs, the television model and the lighting feeling you want. Lux Nook Design will coordinate the feature wall, finishes, electric fireplace and controls as one composition.